
PU Grouting in Mumbai
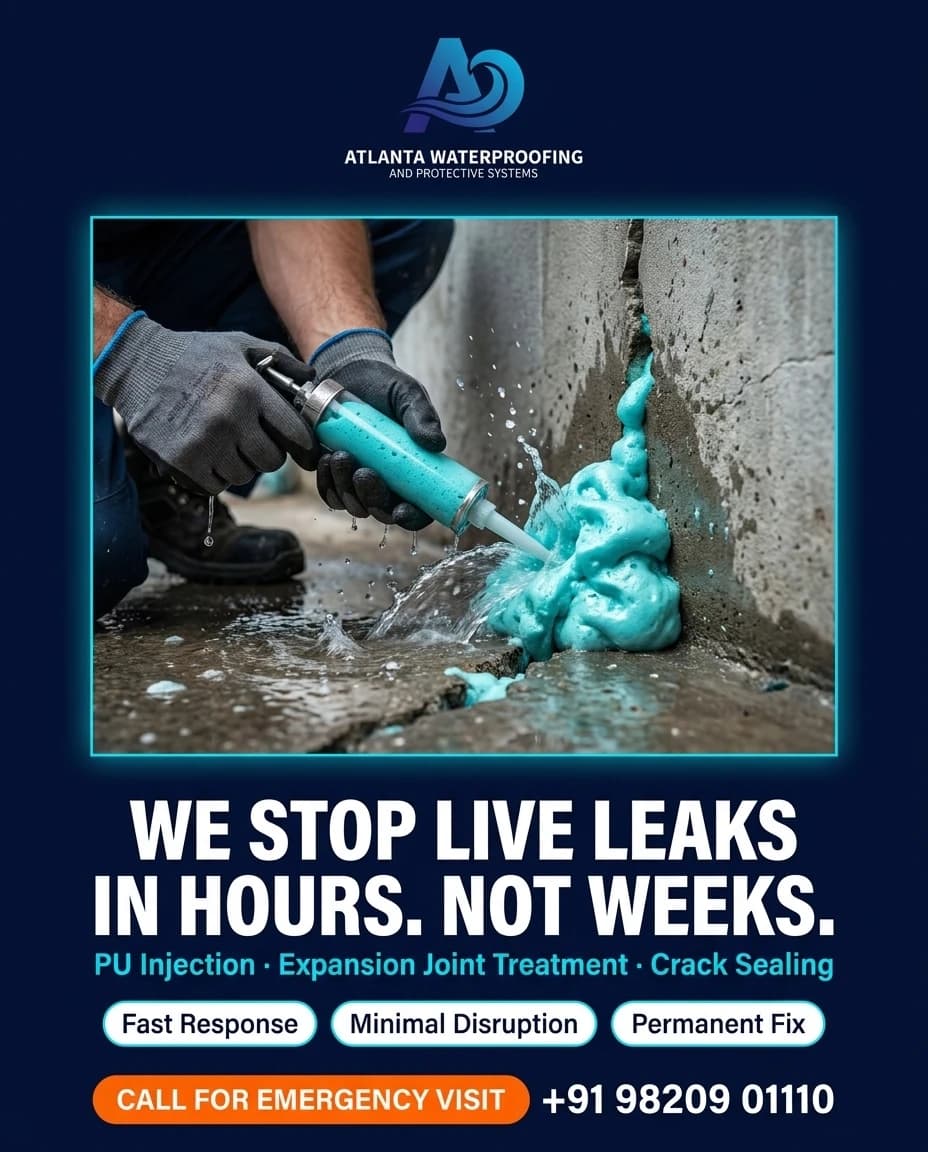
PU grouting injects polyurethane resin under pressure into a leaking crack or joint. The resin reacts with the water it meets, expands into a closed-cell foam or flexible gel, and seals the leak path from within. It is the standard remedial technique for actively running leaks, because it uses the water present rather than requiring a dry substrate.
When this is the right system — and when it is not
Waterproofing is a selection problem before it is an application problem. Most failures we are called to fix were the wrong system for the substrate, not a bad product.
When this is the right choice
- Actively leaking cracks, joints and tie-rod holes
- Basements, lift pits, retaining walls and tunnels under hydrostatic pressure
- Where the leaking face cannot be accessed from the water side
When it is not
- The crack is structural and load-bearing capacity must be restored — that requires epoxy injection or structural repair, not a flexible foam
- The leak is diffuse seepage across a wide area rather than a discrete path — a coating or membrane is the correct answer
The system, layer by layer
Every layer has a job. The ones people cut to save money are usually the ones holding the rest together.
- L01Crack mapping
Leak paths identified and marked.
- L02Packer drilling
Ports drilled at an angle to intersect the crack through its depth.
- L03Packer installation
Mechanical packers set and tightened.
- L04Resin injection
Injected under pressure, lowest port first, until refusal or resin shows at the next port.
- L05Packer removal and making good
Ports removed and sealed.
Almost every failure starts here
Preparation produces nothing visible, costs real money, and is the first thing removed from a cheap quotation. It is also what decides whether the system lasts.
Almost none in the conventional sense, and that is the point of the system. The leaking face is cleaned enough to see and mark the crack path, but the substrate is deliberately left wet. Polyurethane resin reacts with the water it meets, so an actively leaking crack is the correct condition for this work rather than an obstacle to it.
How we apply pu grouting
Step by step, with the specifications each stage is held to.
- 01
Map the leak while it is running
Crack paths are traced and marked while water is still entering. A crack surveyed after the structure has dried gives no information about which paths are actually live, and treating dormant cracks while missing the live one is a wasted mobilisation.
- 02
Drill packer holes at an angle
Holes are drilled at roughly 45 degrees so they intersect the crack at around mid-depth of the section, alternating sides of the crack. Drilling parallel to a crack, or straight down its visible line, misses the internal path — this is the single most common error in injection work.
- 03
Set spacing to the section
Port spacing is set at roughly half the section thickness, so the resin fronts from adjacent ports overlap inside the structure rather than leaving untreated gaps between them.
- 04
Flush the holes
Holes are flushed with water to clear drilling dust and to confirm the port genuinely connects to the crack. A port that will not take water will not take resin.
- 05
Install and tighten mechanical packers
Packers are set and tightened so they seal against injection pressure and do not blow out mid-injection.
- 06
Inject from the lowest port upward
Injection begins at the lowest port and proceeds upward, so the resin displaces water ahead of it rather than trapping pockets. Each port is injected until refusal or until resin appears at the next port, which confirms the path between them is filled.
- 07
Control the pressure
Pressure is controlled rather than maximised. Excessive pressure widens the crack, damages the surrounding concrete and can drive resin into places it was never intended to reach.
- 08
Remove packers, make good, re-observe
Once the resin has cured, packers are removed and ports sealed. The area is then re-observed after 24–72 hours, because polyurethane continues reacting and adjacent paths sometimes open once the original one is closed.
What goes into the system
- Resin
- Water-reactive polyurethane — expanding closed-cell foam for high-flow leaks, flexible gel where the crack will continue to move.
- Packers
- Mechanical packers sized to the drilled hole and rated for the injection pressure.
- Surface seal
- Rapid-set mortar to seal the crack face where necessary, so resin travels internally rather than escaping.
What goes wrong, and what we check
These are the failure modes we are called in to fix on other people's work. The checkpoints on the right are how we avoid repeating them.
Common failure modes
- Ports drilled parallel to rather than intersecting the crack
- Injection pressure too high, widening the crack
- Treating the symptom while an unaddressed drainage fault keeps the head on the wall
Our QC checkpoints
- Injection logged port by port
- Leak re-observed after 24-72h
- Adjacent paths monitored for migration
Systems often specified alongside this one
- Injection Grouting
Injection grouting forces a cementitious or epoxy grout under pressure into cracks, voids and honeycombed concrete to restore continuity and block water paths.
- Basement Waterproofing
Basement waterproofing protects a below-grade structure against groundwater under hydrostatic pressure.
- Lift Pit Waterproofing
Lift pit waterproofing seals the lowest point of a building's shaft, which sits below the water table in most of Mumbai and collects anything that runs down the shaft.
- Expansion Joint Treatment
Expansion joint treatment seals the deliberate gaps that let a structure move, using systems that accommodate that movement rather than resist it.
- Tape Based Treatment
Tape-based treatment bonds a self-adhesive or reinforced waterproofing tape over a joint, crack or junction to bridge it.
- Solvent Based Treatment
Solvent-based treatment applies a solvent-carried sealing product to penetrate porous substrates and seal fine leak paths.
PU Grouting across Mumbai
The right specification changes with the locality — coastal chloride exposure, water table, and the age of the building stock all move the answer.
- PU Grouting in Fort
Ward A · 55 min from our office
- PU Grouting in Marine Lines
Ward C · 55 min from our office
- PU Grouting in Grant Road
Ward D · 50 min from our office
- PU Grouting in Tardeo
Ward D · 50 min from our office
- PU Grouting in Malabar Hill
Ward D · 55 min from our office
- PU Grouting in Worli
Ward G/South · 45 min from our office
- PU Grouting in Lower Parel
Ward G/South · 45 min from our office
- PU Grouting in Mahalaxmi
Ward D · 48 min from our office
- PU Grouting in Byculla
Ward E · 50 min from our office
- PU Grouting in Bandra West
Ward H/West · 25 min from our office
- PU Grouting in Santacruz
Ward H/West & H/East · 18 min from our office
- PU Grouting in Jogeshwari
Ward K/West & K/East · 0 min from our office

PU Grouting and related work, from our Instagram
@atlantawaterproof ↗ Post
PostWater rarely respects boundaries
PU Grouting — questions we get asked
When is pu grouting the wrong choice?
The crack is structural and load-bearing capacity must be restored — that requires epoxy injection or structural repair, not a flexible foam The leak is diffuse seepage across a wide area rather than a discrete path — a coating or membrane is the correct answer Selecting a system that does not match the substrate, the exposure and the movement it will see is the most expensive mistake in waterproofing, because the failure only shows up after everything above it has been built.
Why does pu grouting fail when it is done badly?
In our experience the recurring causes are: ports drilled parallel to rather than intersecting the crack; injection pressure too high, widening the crack; treating the symptom while an unaddressed drainage fault keeps the head on the wall. None of these are material defects — they are execution defects, which is why the same product can last for years on one building and fail in a single monsoon on another.
How do I know the work was done properly?
Ask for evidence against these checkpoints: injection logged port by port; leak re-observed after 24-72h; adjacent paths monitored for migration. A contractor who cannot produce them is asking you to take execution quality on trust, on work that will be buried under a finish and impossible to inspect afterwards.
How long does pu grouting last?
Seals the injected path. It does not address the cause — if the structure keeps moving or the water head is unresolved, adjacent paths can open later. We would rather set that expectation honestly than quote a headline number, because the substrate condition and the standard of application matter more to the outcome than the product's own datasheet figure.
What does pu grouting cost in Mumbai?
Cost depends on area, substrate condition, access, and how much preparation or structural repair is needed before the system can go on. We do not publish a rate per square foot, because a number quoted without seeing the building is either meaningless or misleading. The site inspection is free and produces an itemised scope you can compare against any other quotation.
Which standards apply to pu grouting?
The relevant Indian Standards for this work are IS 3067. These cover the design, preparatory work and material requirements. Where a project specification names a different or additional standard, we work to the specification.
Book the inspection. It costs nothing and it settles the argument.
An engineer visits, finds the actual source, and tells you what the building needs and why. You get a clear scope before any money is discussed.
Mon–Fri 08:00–18:00 · Sat 09:00–16:00 · Jogeshwari West